
Select Axes in the left tool rail; the editor switches to 2D → Top. Select Add axis, choose the direction in the dialog and confirm. The editor places the new Axis automatically; check its position and use Fit viewport to content if needed. A Custom Axis may appear within the existing grid. Select it in the viewport or Project tree to read its label, coordinate and adjacent distances in the right panel.
If a selected Axis or Level still occupies the properties panel, click empty plan space to return to Axis grid, where Add axis is available.
Choose the direction of a new Axis
| Choice | Direction in Top |
|---|---|
| Vertical | Vertical reference, with Angle fixed at 0°. |
| Horizontal | Horizontal reference, with Angle fixed at 90°. |
| Custom | Oblique reference. Enter Angle or use the slider, from 0° to 90° in 0.1° steps. |
Angle is measured from the vertical direction shown in the preview. For example, Custom at 30° inclines the Axis 30° from vertical; it does not mean 30° from the horizontal X direction. Check the preview, then select Add axis. Cancel closes the dialog without adding an Axis.
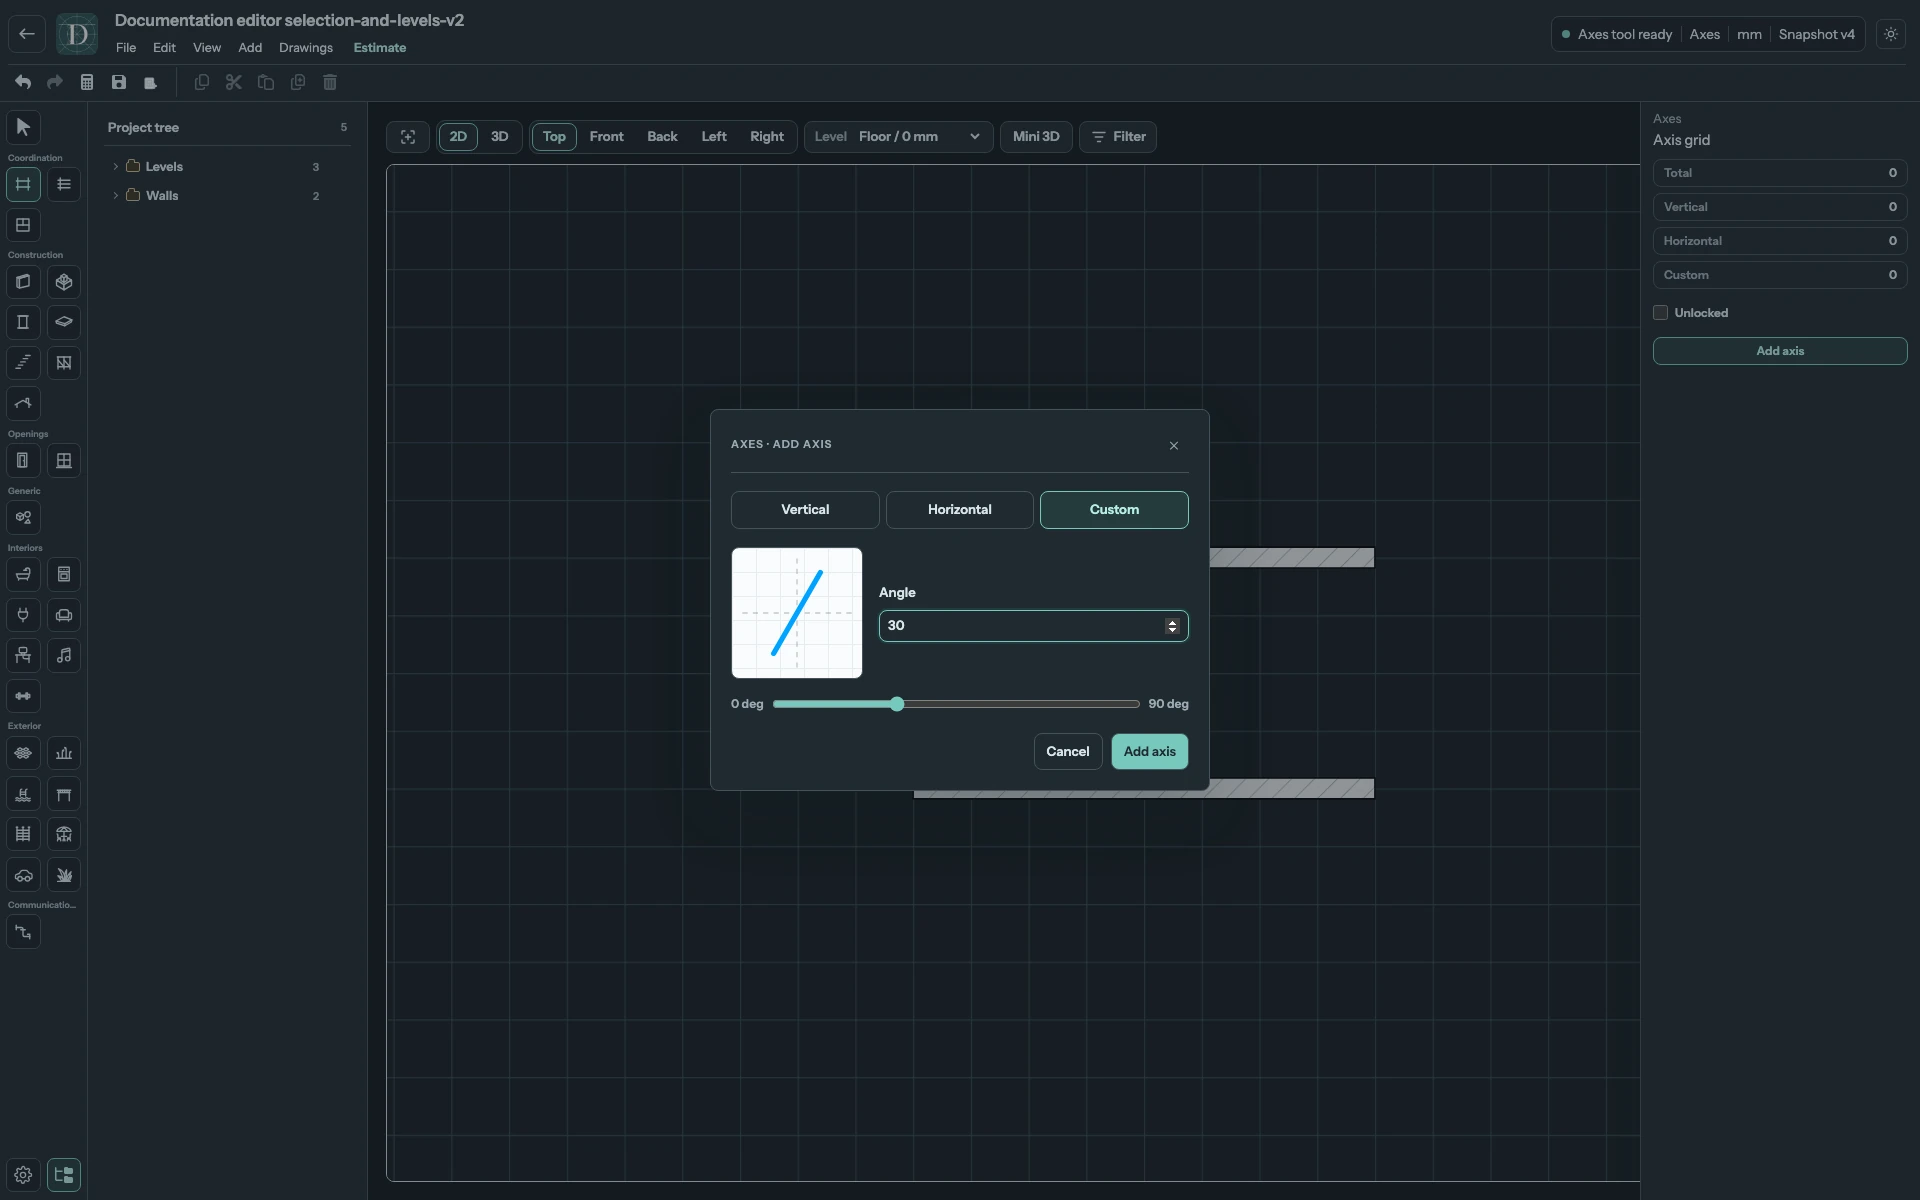
View the full-size Custom Axis screenshot.
For an existing Custom Axis, select it and edit Angle in its properties. It uses the same 0°–90° range and 0.1° increment, measured from vertical. Check its new direction against the construction it references. Vertical and Horizontal Axes keep their fixed directions.
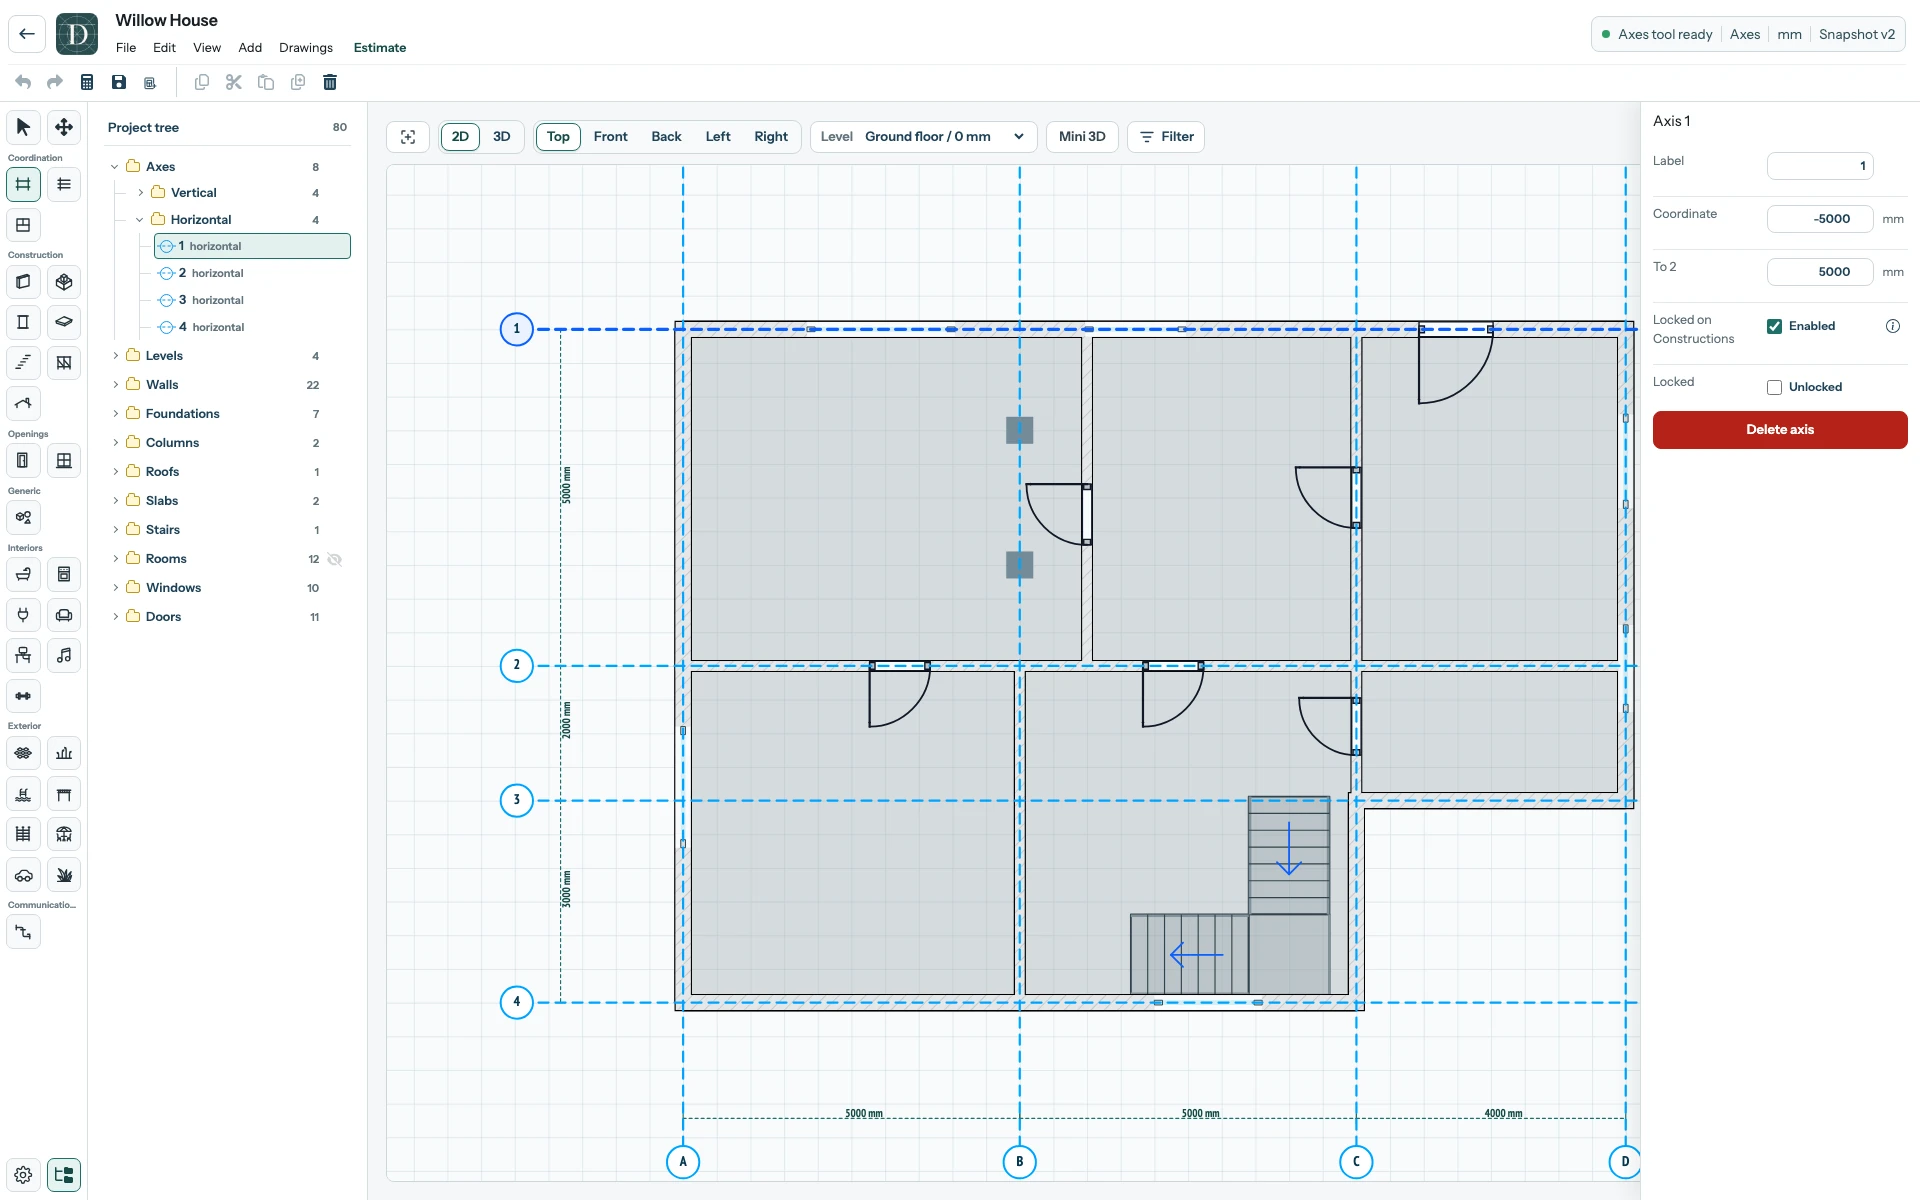
View the full-size selected-Axis screenshot.
Change the Coordinate to move one Axis, or edit an adjacent distance to change the spacing of a parallel group. The latter can shift more than one Axis, so inspect the whole grid. Before either action, check Locked on Constructions: with it enabled, supported construction points on a moved Axis shift too, across Levels. Turn it off to move only the reference. If movement is unavailable, check both the overall Axis grid lock and the selected Axis's own lock; these are separate from Locked on Constructions. Select Save, reopen, and inspect affected Walls, Foundations, openings and Rooms.
Edit Label to rename the selected Axis in the view and tree. To remove it, select Delete axis, review the confirmation and choose Delete. Cancel retains it. Deletion is blocked while that Axis or the whole Axis grid is locked. Removing a reference is different from deleting the Walls that were drawn along it; inspect their bindings afterwards.
What an Axis controls explains the movement rule. Extend the starter grid and move a coordinated Axis show complete examples.