
Choose Select in the left tool rail, then select an element in the viewport. You can also expand its category in the Project tree and select its row. The right panel identifies the selected object and shows the settings available for it.
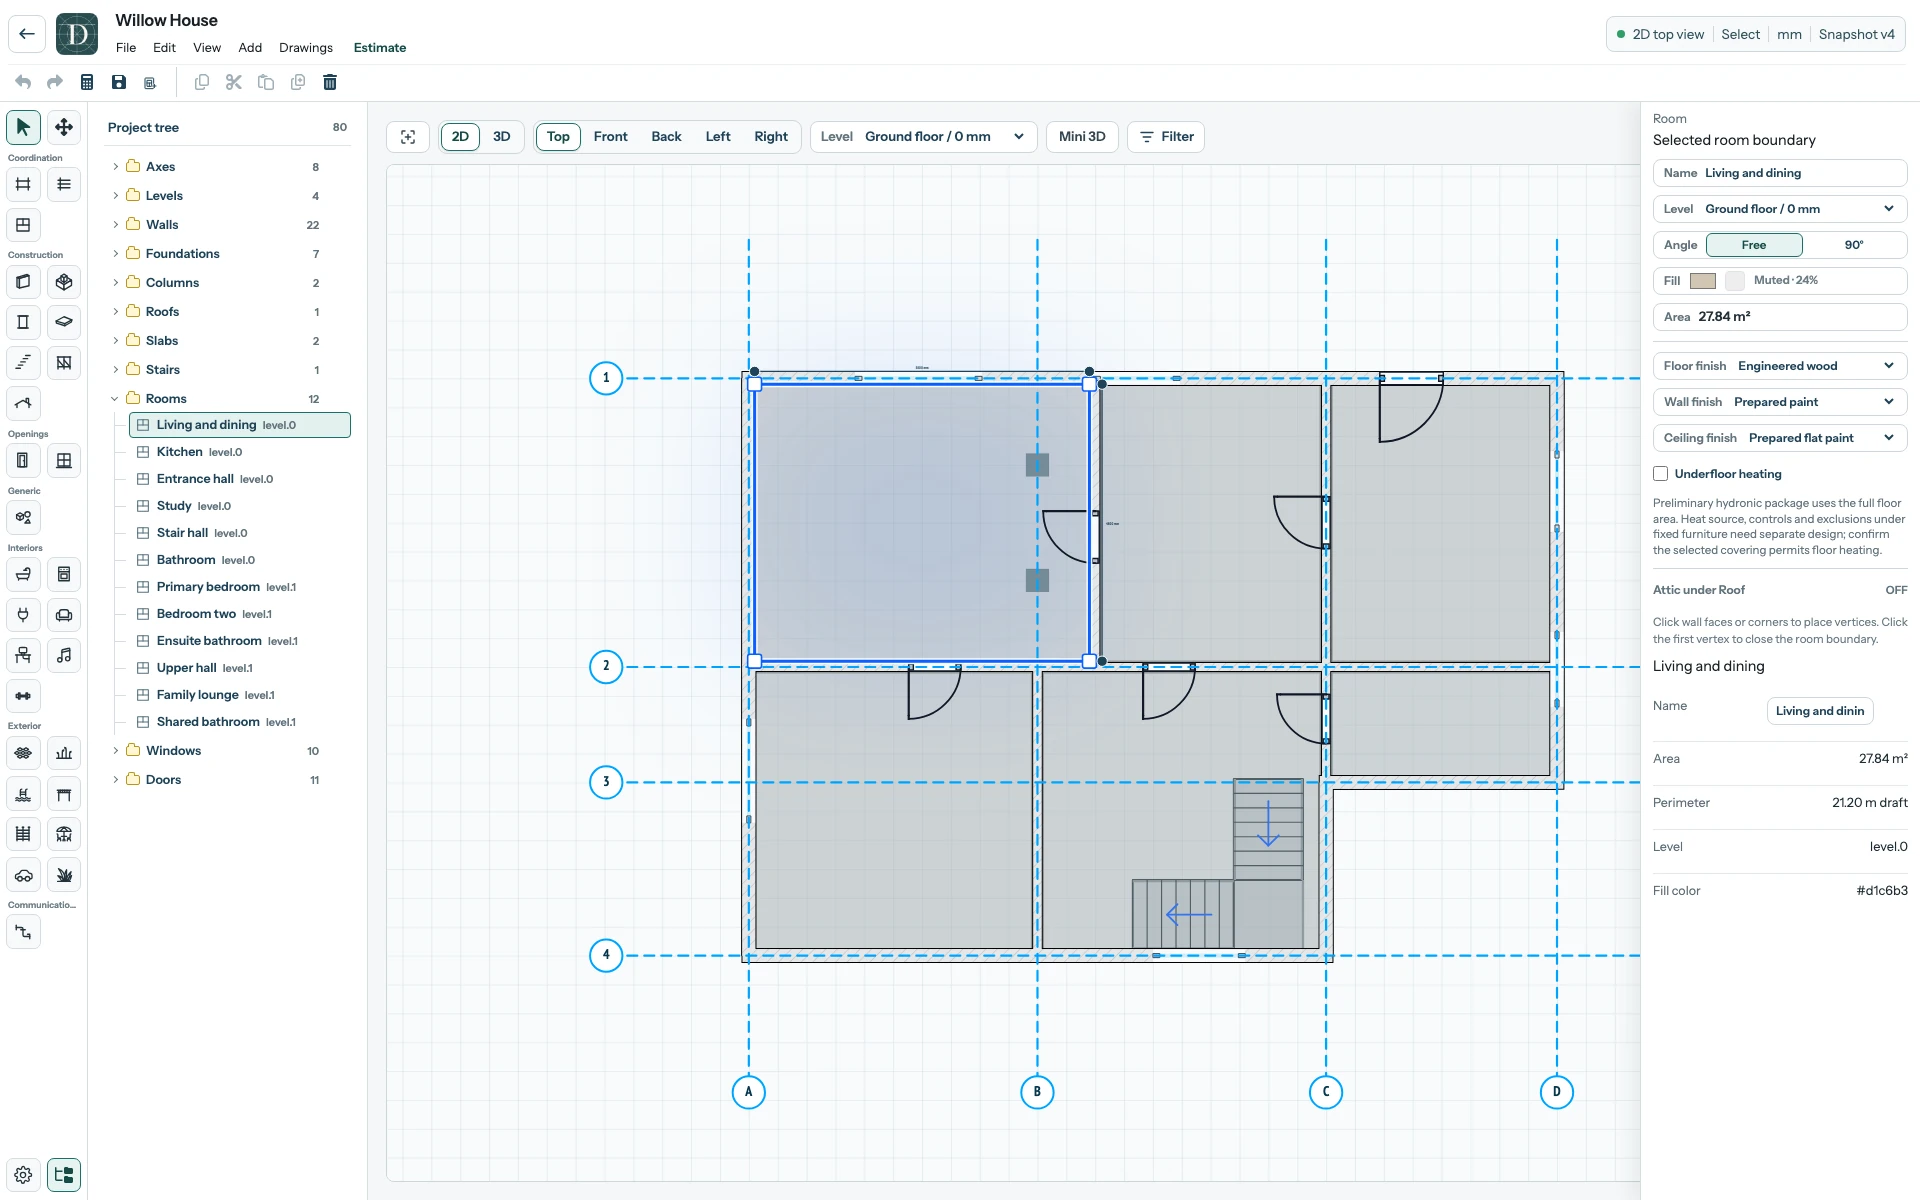
View the full-size selected-Room screenshot.
Read the object's name, type, Level and geometry fields before changing them. The panel differs by element: an Axis has reference controls, a Wall has construction settings, and a Room has spatial settings. If a visible part is difficult to pick because objects overlap, select its exact tree row. Hide an obstructing group with the tree eye only when needed, then show it again for a complete check.
Select several objects in Top
Hold Ctrl on Windows/Linux or Command on macOS while clicking an object to add it to the selection. Click an already selected object with the same key to remove it from the selection. A click without that key replaces the selection with the clicked object.
To select an area, drag a rectangle from empty plan space. A normal rectangle selects objects fully inside it. Hold Shift when starting the rectangle to include objects that intersect it, even if only part lies inside. Hold Ctrl/Command to add the rectangle's result to the existing selection.
The right panel depends on the selected families. For several Walls, it shows shared values and Mixed Wall types, Mixed Levels or Mixed constraints where they differ. Choosing a shared setting applies that setting to the selected Walls. Name, individual Length editing and Top constraint editing require a single Wall. Thickness comes from Wall type; its read-only field is not a shared resizing control.
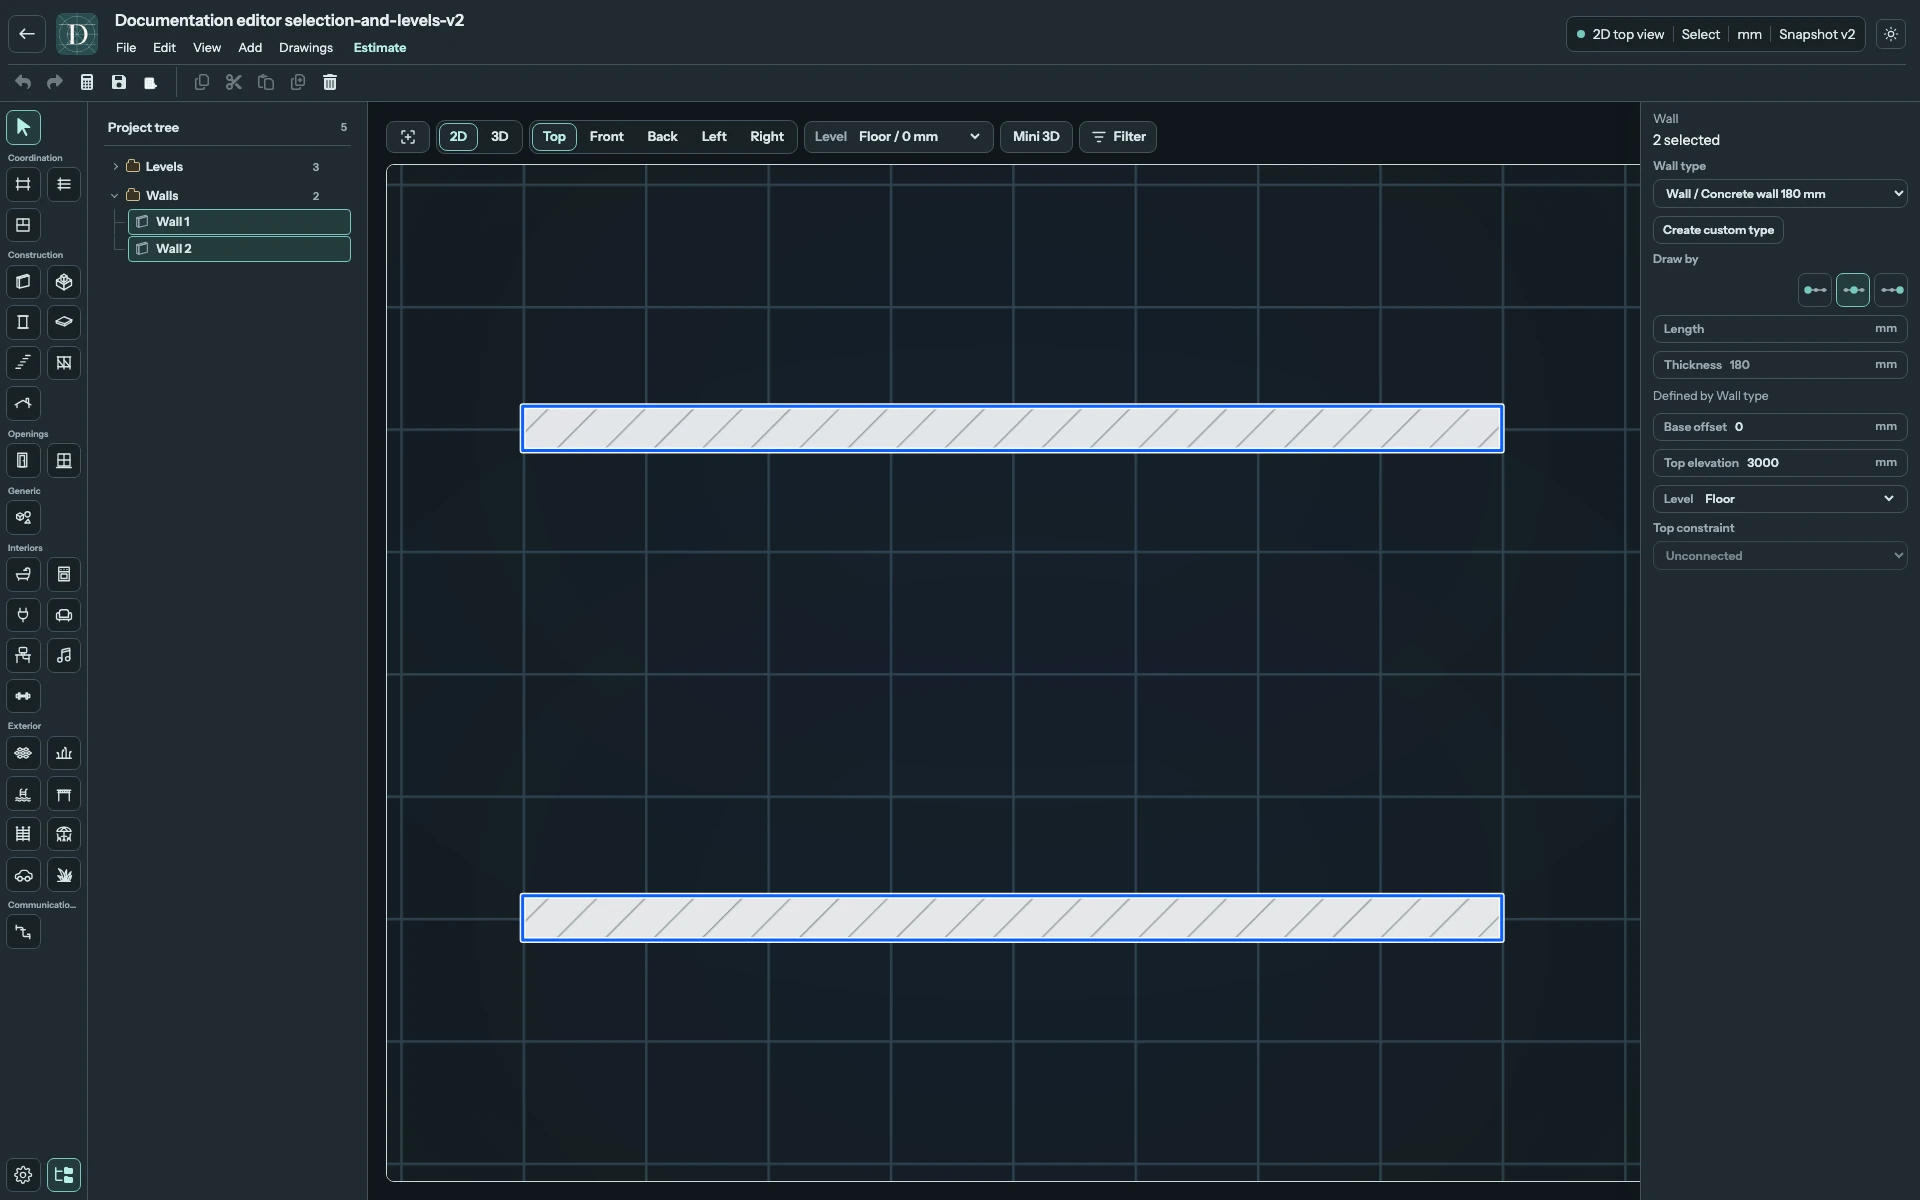
View the full-size multiple-selection screenshot.
Rename a model element
Select one element and edit Name when its panel offers that field. Press Enter or leave the field to apply the change; check its Project tree row, then save. This changes the instance label rather than its construction type. For example, give a Door the name Entrance door while retaining its selected Door type.
Axes and Levels use Label in their own controls. Generic Groups also offer Name. Controls vary by family; a generated leg or equipment part belongs to its containing object and cannot be named independently. For the whole project, use Project settings.
On a narrow screen, open Properties to see the same selected object's panel. Use the Project tree explains the row and eye controls; types and materials explains how to read object settings.