
Start from your newly opened project. The left strip holds tools, the Project tree lists objects, the center is the working viewport, and the right panel shows the active tool or selected object's settings. The top bar holds project menus and Save. Willow House is used in the screenshot so the areas are easy to recognize; your new project has fewer objects.
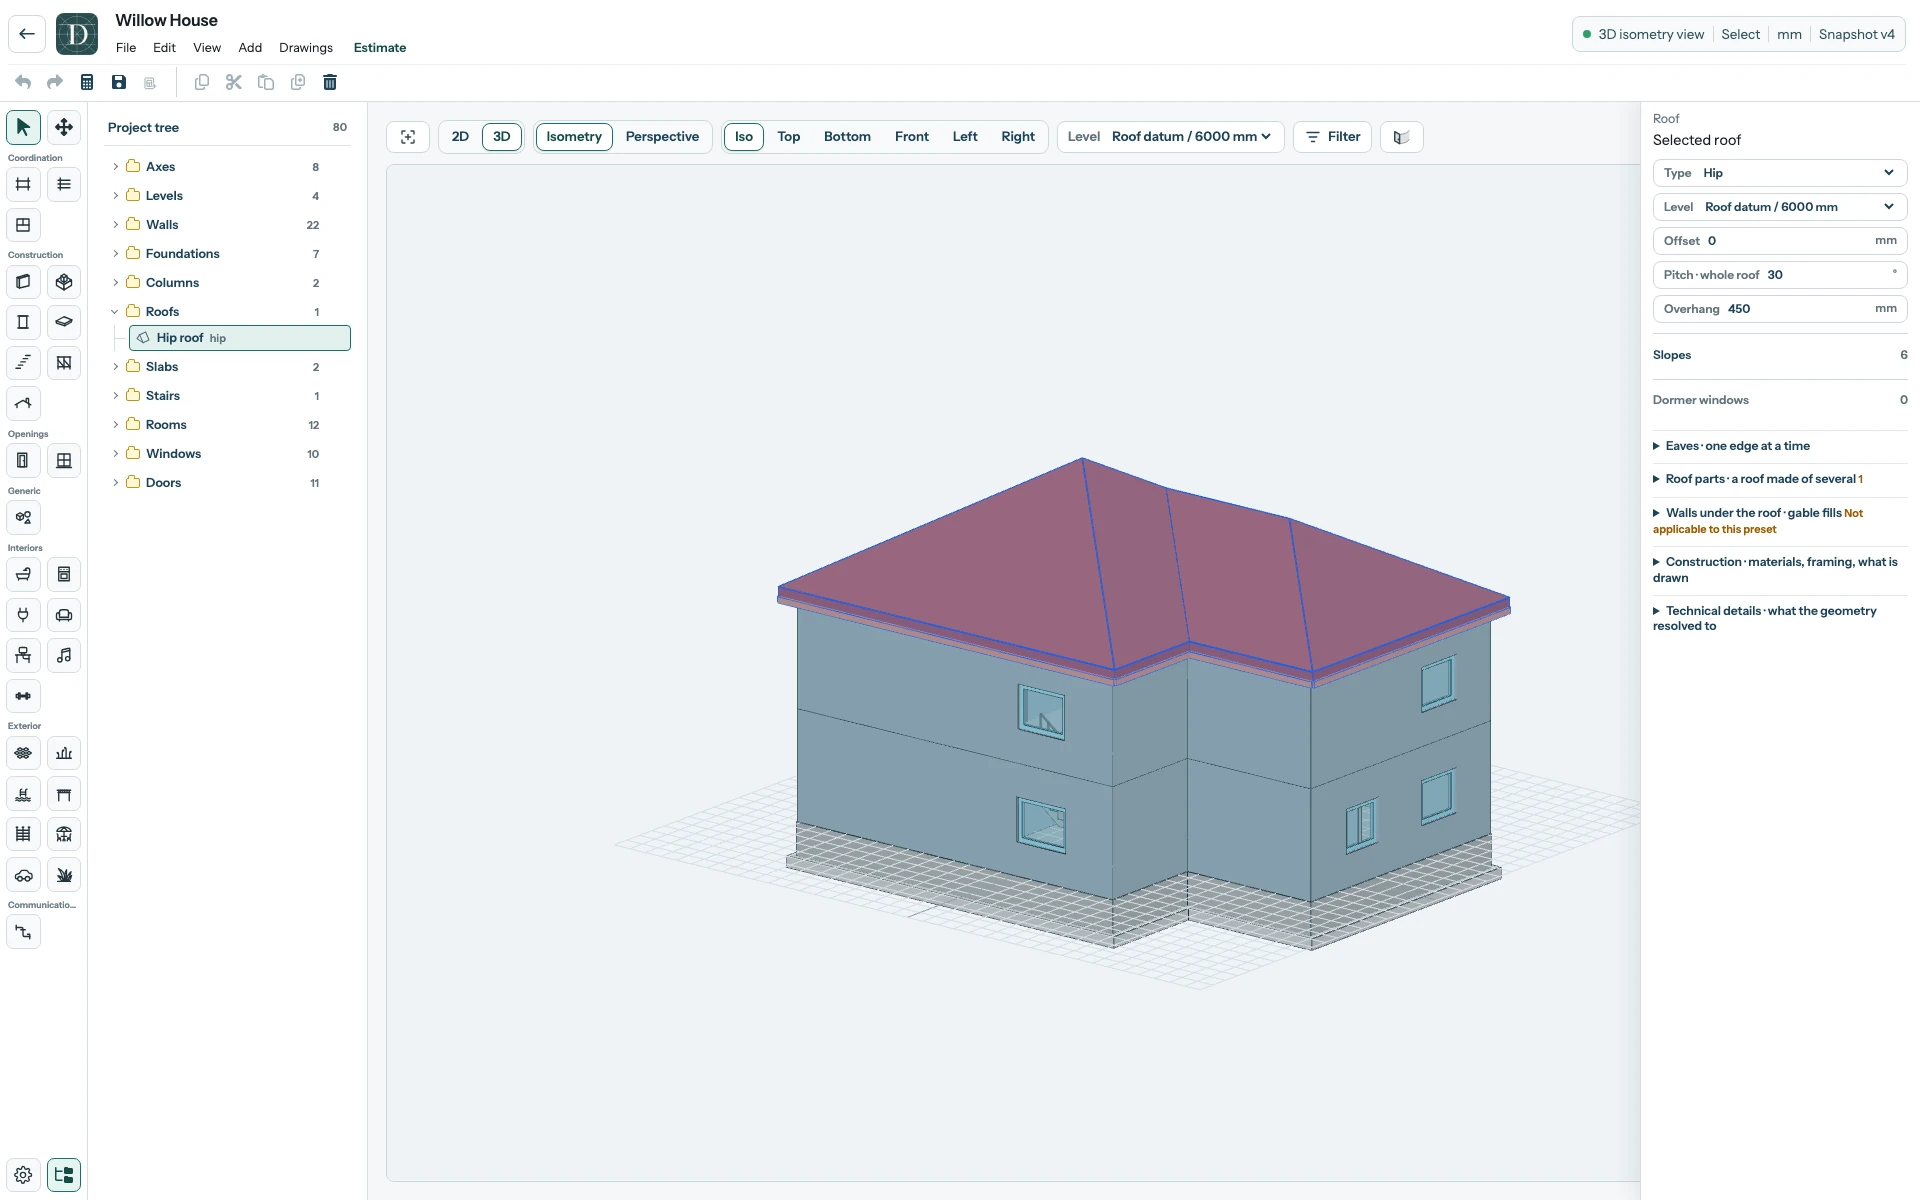
View the full-size editor screenshot.
- Select Select in the left strip, then select an item in the Project tree or viewport. The right panel changes from tool controls to that object's editable properties. In the screenshot, Hip roof is selected and the right panel shows Selected roof. In your starter project, select an Axis to inspect its position.
- Above the viewport, Fit content frames the visible model. 2D offers Top, Front, Back, Left, and Right. 3D offers Isometry or Perspective and camera shortcuts such as Iso, Top, and Front. These controls change how you look at the same model.
- Level sets the active working height, separately from the view direction. In 2D, Mini 3D opens a floating live preview; the button is absent from the 3D view shown above. Filter controls which categories appear. A Level is a model reference, whereas switching views or visibility does not create or move elements.
- After editing the model, select Save (the disk icon in the top toolbar).
Make room for the drawing
Select Project tree at the bottom of the left tool strip to hide the tree and widen the canvas. Select it again to restore the tree. Hiding the panel does not remove any project objects.
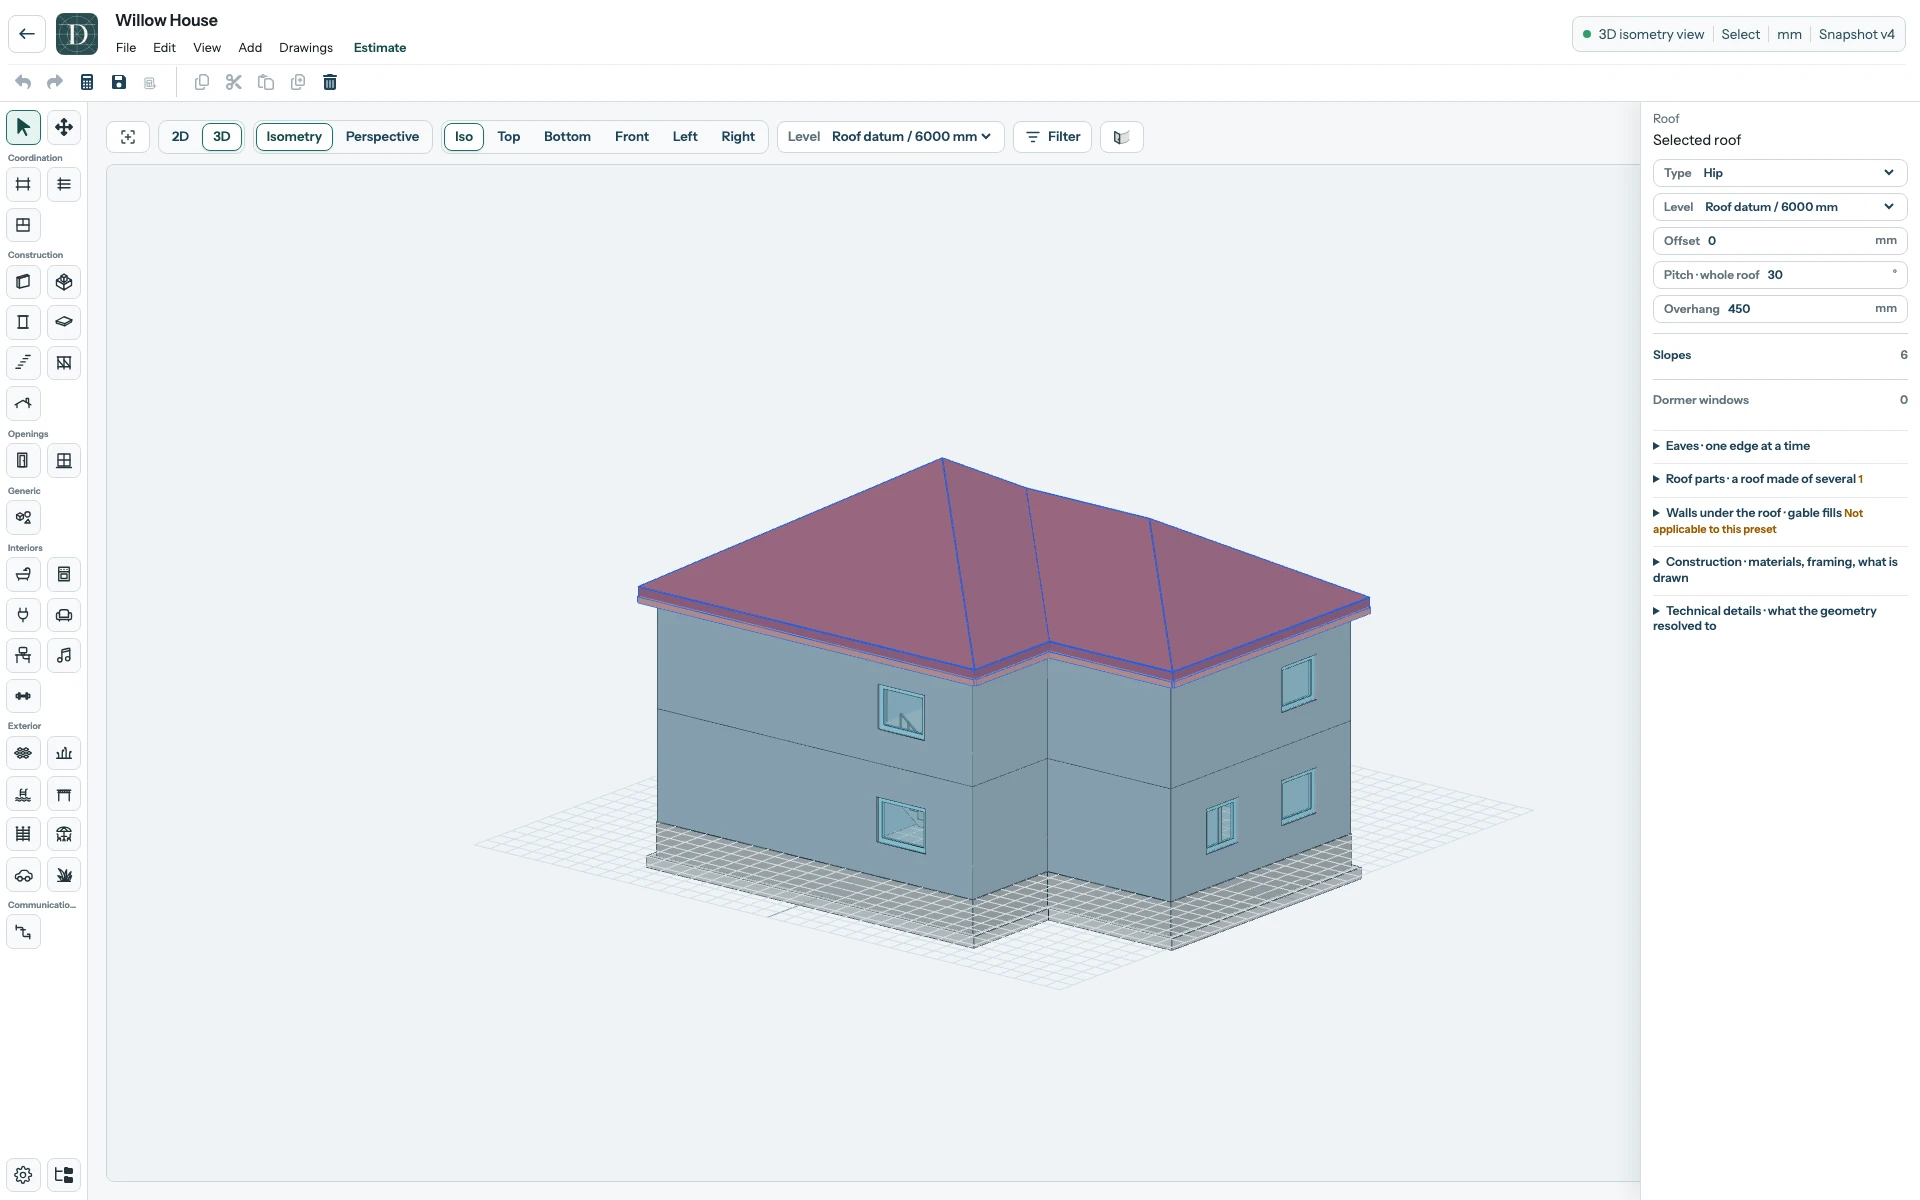
View the full-size editor screenshot with the tree hidden.
On a narrow screen, use the compact toolbar above the canvas: Tools opens the tool strip, View holds 2D/3D, Properties opens the selected object's controls, and Tree (the folder icon) opens the Project tree drawer.