
Use Interiors → Gym to compare equipment locations in a fitness space. The catalog contains equipment for strength training, cardio and storage, as well as an exercise mat and wall-mirror representation. You configure placement for the chosen object; each frame, bench, weight or console stays within its complete assembly.
Choose a family
| Family | Examples | What the example helps you see |
|---|---|---|
| Strength | Adjustable bench, Smith rack, Linear leg press | The bench, supports or tall frame and the occupied floor area. |
| Cardio | Treadmill, Upright bike, Rower | A long or compact training station with its included console and supports. |
| Accessories | Dumbbell rack, Plate tree, Exercise mat | Storage or a floor exercise position alongside the main equipment. |
| Wall mirror | Wall mirror | A vertical mirror representation next to a Wall. |
Use the same workflow for other catalog entries. The examples below show how these families fit together; you do not need a separate instruction for each model.
Place equipment
- Choose 2D → Top and the working Level.
- Open Gym and choose an example such as Adjustable bench, Treadmill or Dumbbell rack.
- Set Level and Base offset in the right panel. Their sum places the base of the equipment.
- Move the complete preview into place and click. Place further examples if needed, then choose Select or press Escape.
- Select an instance in the viewport or Project tree. Change Name, Level or Base offset in its panel.
The center can link the object to a Room on the same Level. Loose equipment can also be placed outside a Room. A treadmill is useful for comparing a long footprint, a bench for a smaller floor object, and a rack for storage height; these examples use the same placement sequence.
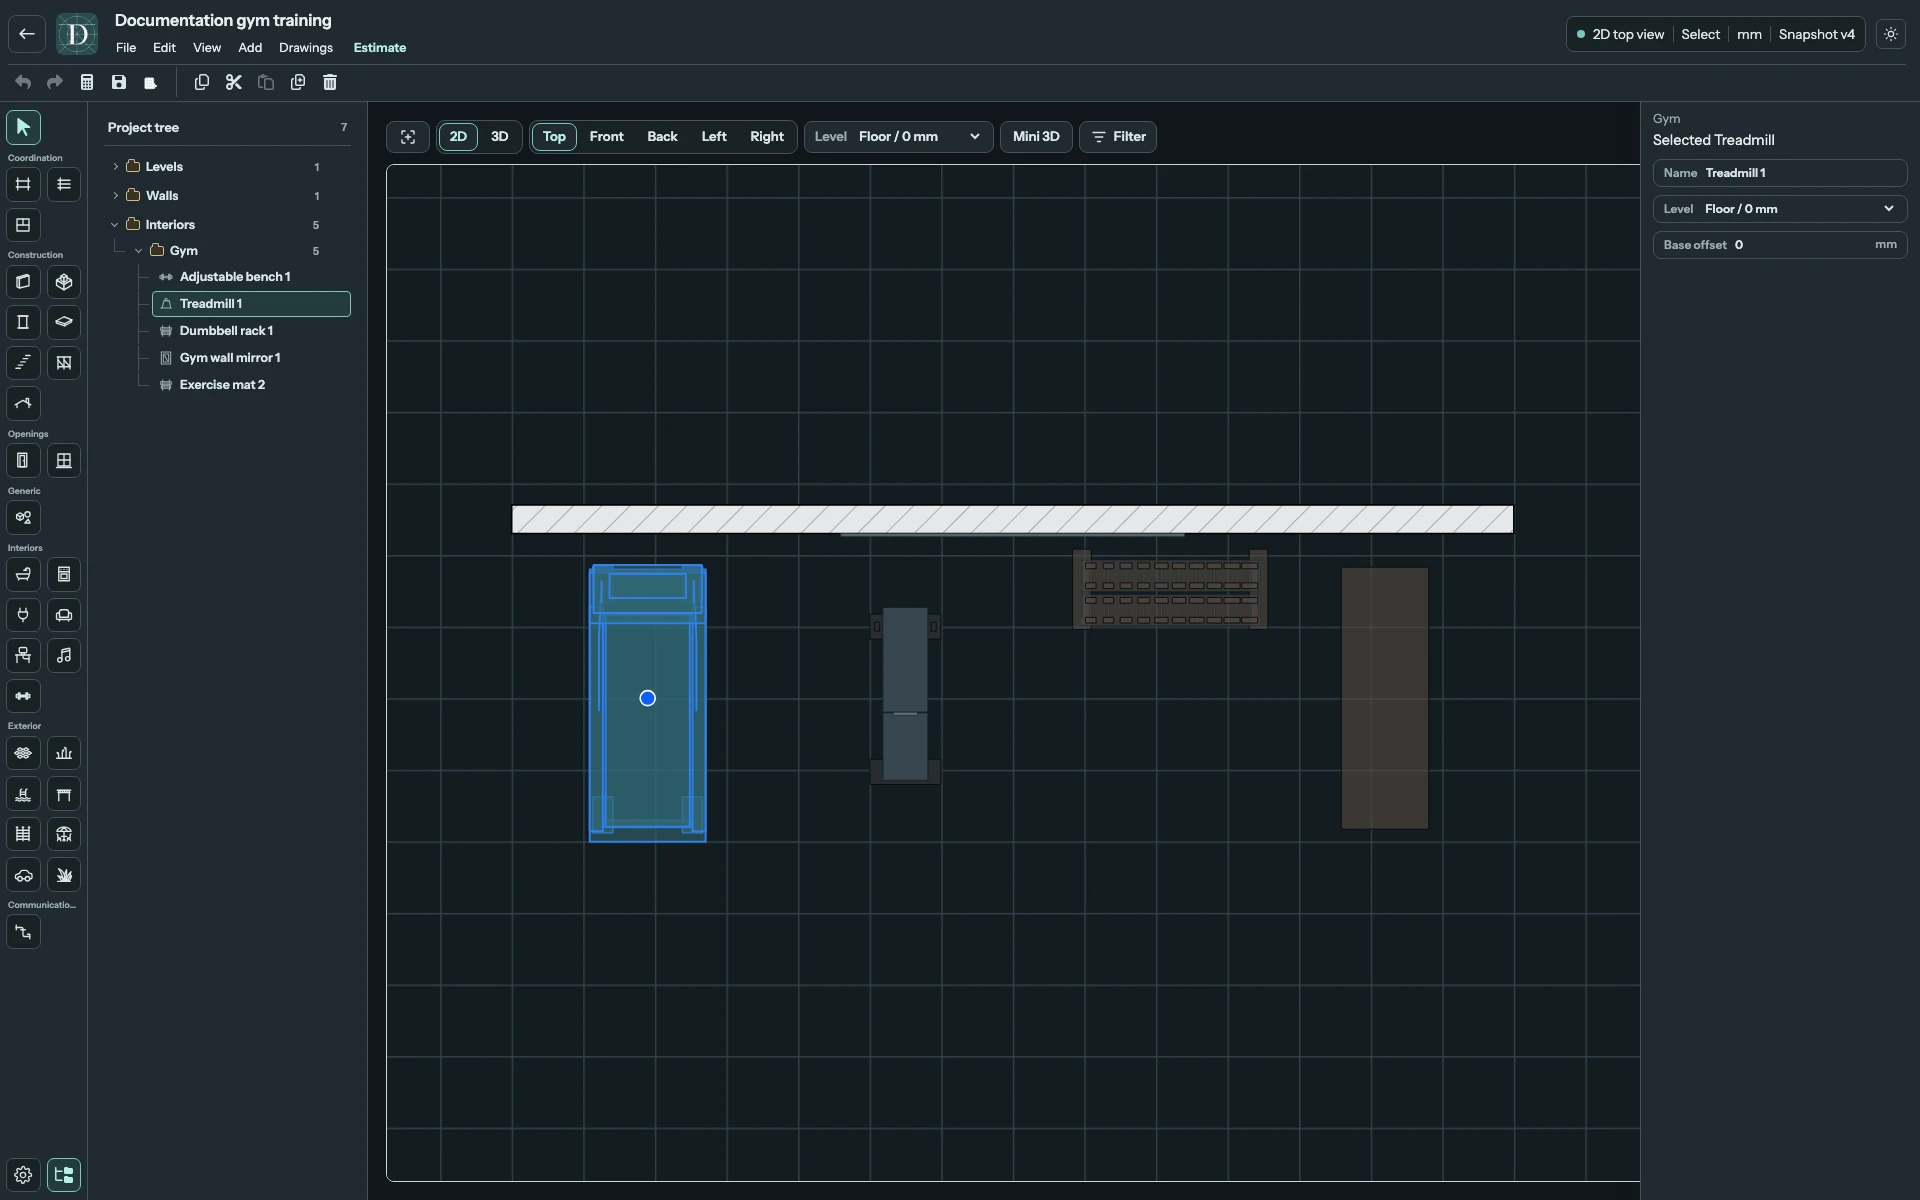
View the full-size screenshot.
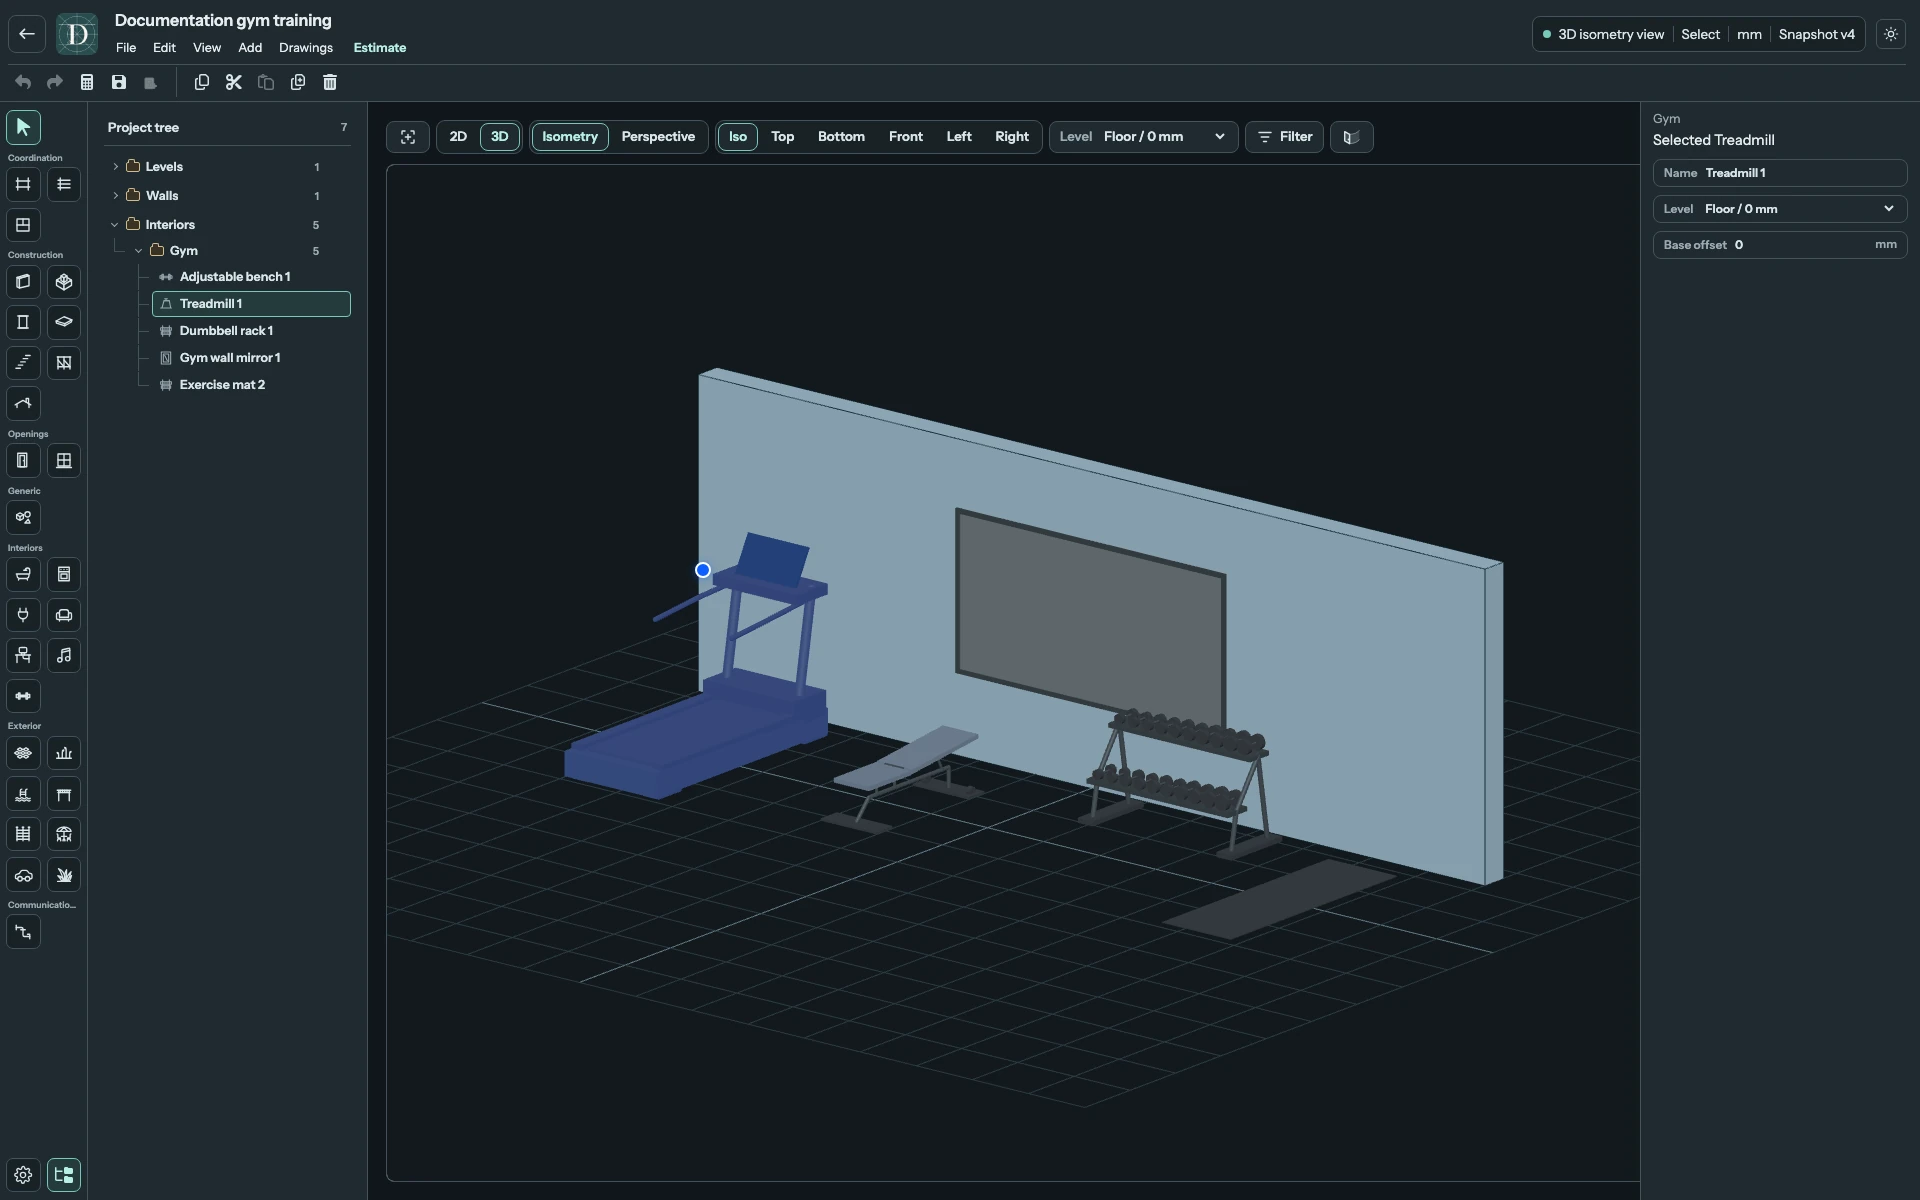
View the full-size screenshot.
All Gym settings
| Field | How to use it |
|---|---|
| Name | Available on a placed object. Name the instance to distinguish it in Project tree, for example Treadmill by window. |
| Level | Choose the datum for the complete object, including its frame and accessories. |
| Base offset | Signed vertical distance from Level to the base. Use 0 for floor equipment. Use a positive offset to raise equipment or position a mirror above the floor. |
For example, a mirror at Level 0 mm with Base offset 600 mm starts 600 mm above that datum. Moving it to a Level at 3000 mm retains the offset, so its base becomes 3600 mm. Changing this value moves the whole mirror or equipment assembly; it does not stretch it.
Arrange and inspect the layout
Use the supported movement and rotation handles to adjust the whole object. The current Gym panel does not expose equipment dimensions or operating-clearance fields. Choose an appropriate catalog example and leave the space your intended equipment needs using your own design information.
Wall mirror uses the same Level and Base offset placement controls in the current editor. It is a movable mirror representation with its own position, rather than a persistent Wall-hosted object. Set its location and orientation explicitly and recheck it if the nearby Wall moves.
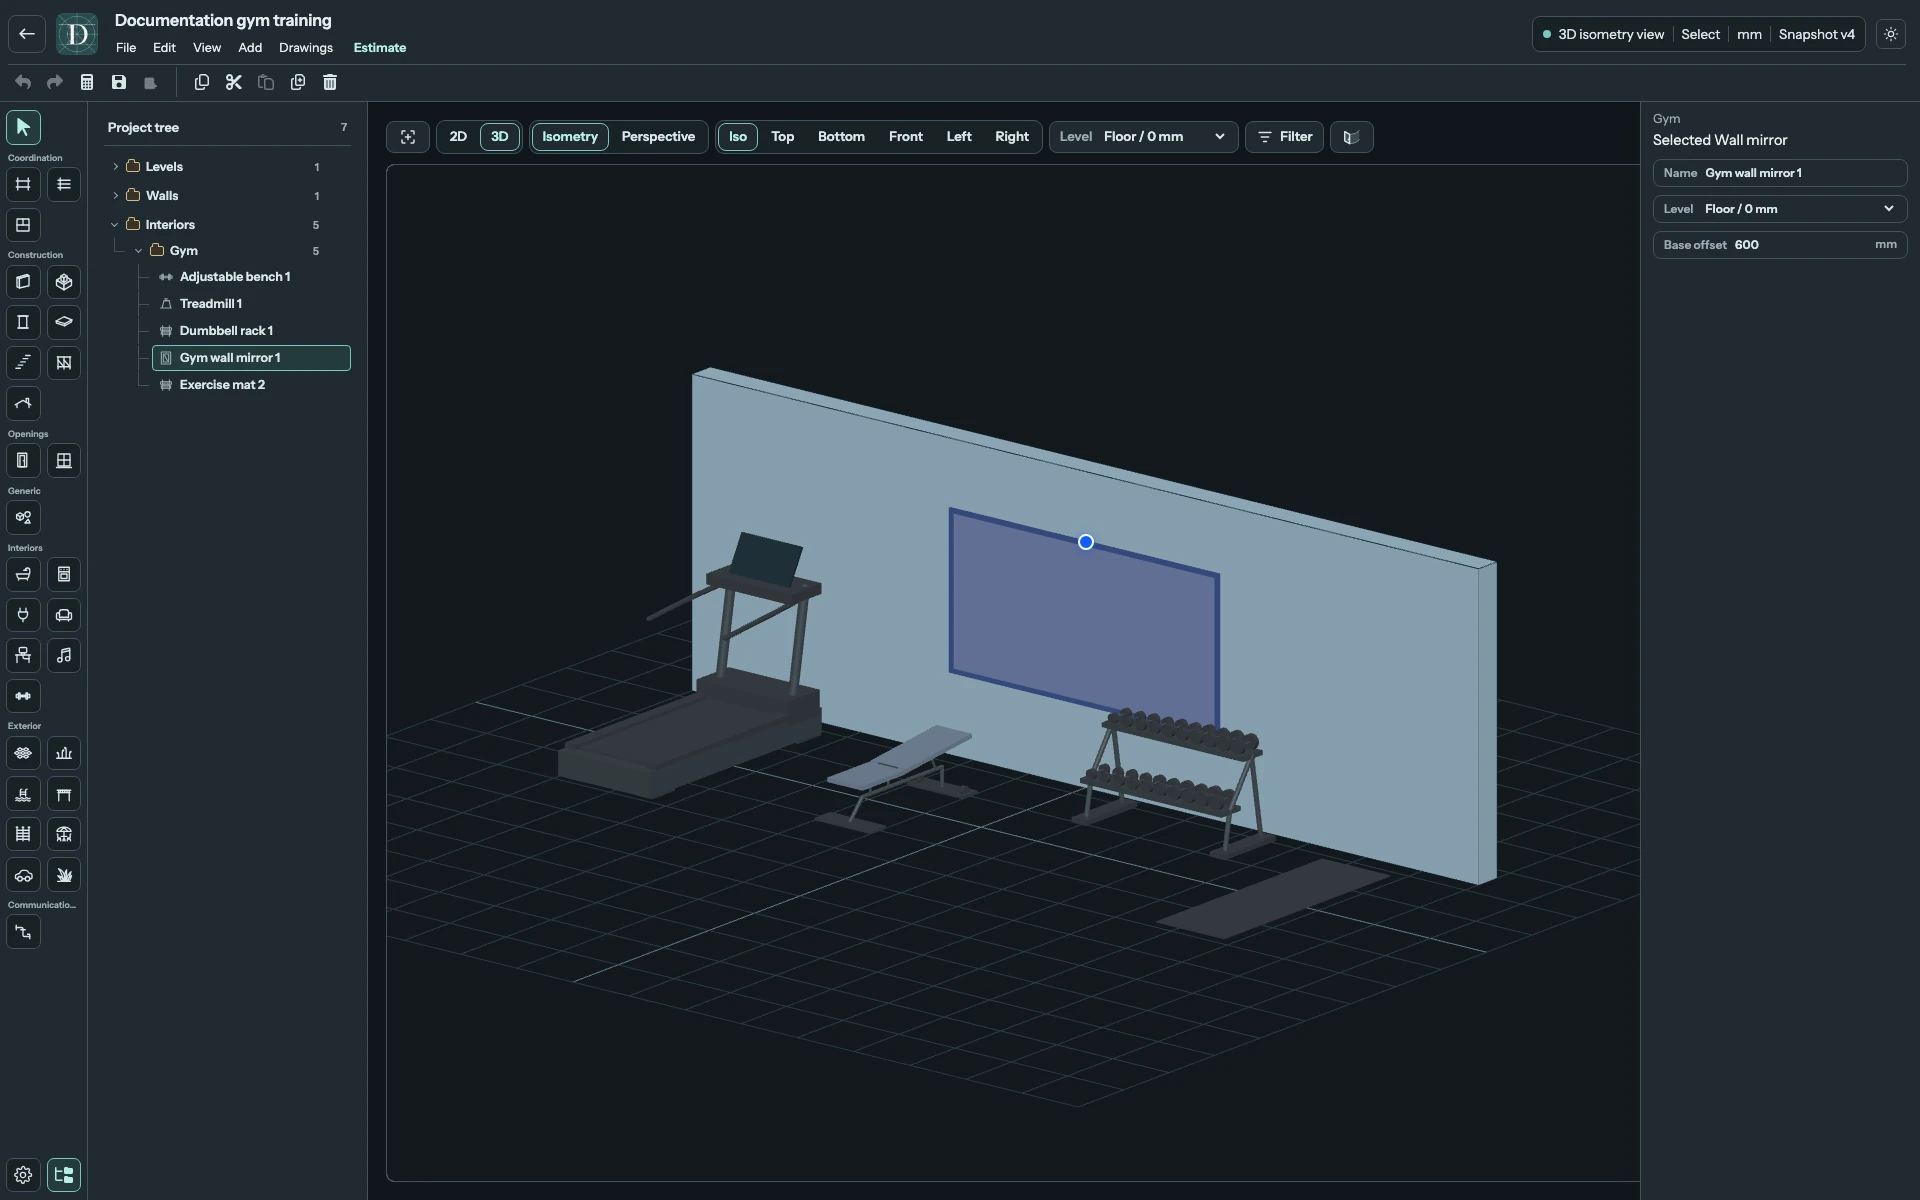
View the full-size screenshot.
Compare Top with a side view and 3D, then save and reopen useful changes. Equipment detail, a room layout or a mirror surface does not verify an installation, circulation clearances, floor loading or safety requirements. The mirror appearance does not provide a live reflection of the scene.
Select an unwanted instance and use Delete to remove its whole assembly. Use Undo to restore an accidental removal.